
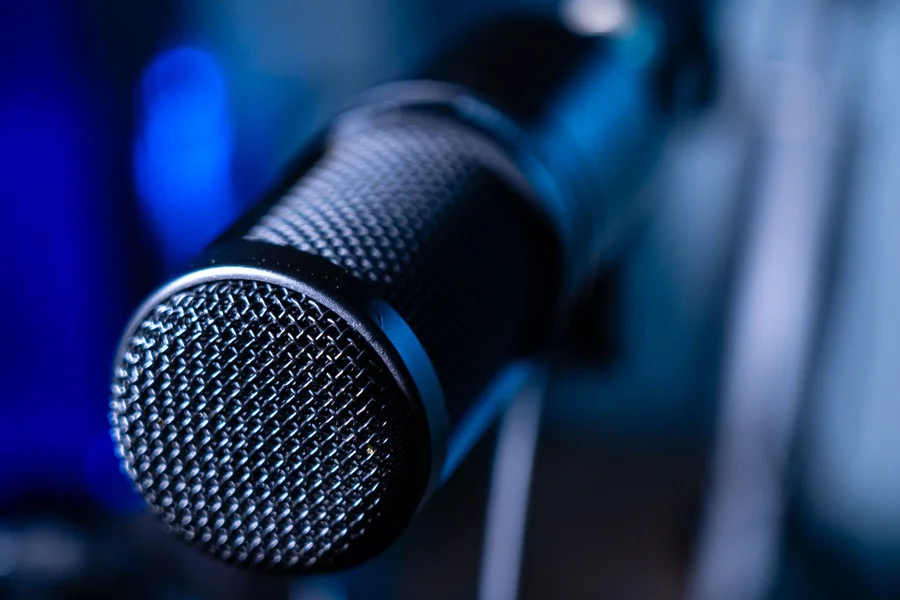
Setting up a home recording space usually comes with a major challenge: room echo. Untreated walls, hardwood floors, and windows reflect sound waves back into your microphone, making your voice recordings sound hollow and cheap.
While full acoustic treatment is the best solution, many podcasters and home musicians turn to a portable microphone isolation shield. Often called a reflection filter, this curved panel sits behind your mic to absorb stray sound waves. This guide explains how these shields work, their pros and cons, and how to position them for the best results.
Table of Contents
What Is a Microphone Isolation Shield?
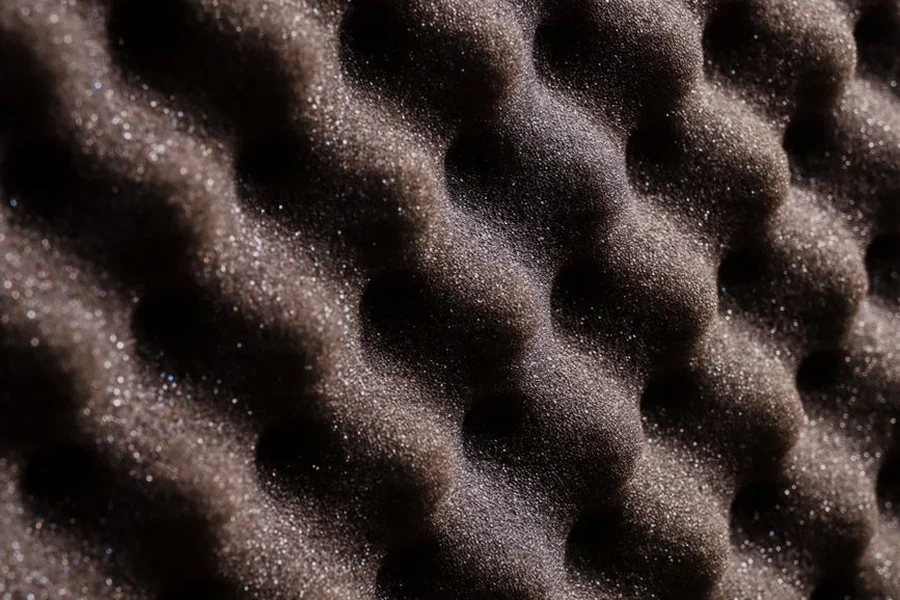
A microphone isolation shield is a portable acoustic panel constructed with a curved metal or plastic frame lined with dense acoustic foam that attaches to your microphone stand. It is designed to capture and absorb sound waves before they can travel past the microphone and bounce off the surrounding walls.
It is important to understand that a shield is not a soundproofing tool. It will not block external sounds like street traffic, lawnmowers, or air conditioners from entering your room. Instead, its sole purpose is to reduce the amount of room reverb and dry up your vocal takes, making them sound cleaner during editing.
If you are setting up a dedicated workspace for voiceover, recording, or remote business meetings, you might need a quiet, isolated room. Many remote professionals build an outdoor office pod in their backyard to gain a separate, quiet work environment that keeps household noise out of their microphone feeds.
Why Do Home Studios Use Reflection Filters?
Home studios use reflection filters because they offer an affordable, portable way to dry up vocal takes without needing to install permanent acoustic foam panels on the walls. They are particularly popular for apartment setups where mounting hardware to the wall is not permitted.
By absorbing the sound waves exiting the back and sides of the microphone, the shield creates a controlled recording zone. This helps prevent the microphone from picking up the sound of your voice bouncing off the reflective plaster walls behind the desk. High-quality models from brands like Sound on Sound show that reducing these early reflections is the key to achieving professional vocal clarity.
What Are the Pros and Cons of an Isolation Shield?
The main pros of an isolation shield are increased vocal dry-ness, portability, and low setup cost, while the primary cons are weight imbalance on mic stands and potential boxy frequency coloration. Weighing these trade-offs helps you decide if a shield is right for your recording space.
Here is a breakdown of the key factors to consider:
- Pros, Immediate Clarity: In untreated rooms, a shield immediately reduces room flutter echo, making your vocals sound more intimate.
- Pros, Travel Friendly: They are easy to fold up and pack, making them popular for mobile podcasters who record in different hotel rooms.
- Cons, Boxy Sound: If a shield uses cheap, low-density foam, it will absorb high frequencies but reflect mid-range frequencies back into the microphone. This causes a boxy or muddy sound.
- Cons, Weight Issues: Metal shields are heavy and can easily tip over lightweight tripod microphone stands if they are not balanced correctly.
Managing acoustics in small rooms requires a similar approach to arranging interior layouts. If you are trying to decorate a small home, you know that keeping clutter down and using soft fabrics, like heavy rugs or thick curtains, helps absorb sound waves and prevent echo naturally.
How Do You Place a Microphone Isolation Shield?
You place a microphone isolation shield by mounting it behind your microphone, ensuring the microphone capsule sits centered within the curved area of the foam. Adjusting the distance between the mic and the shield is critical to avoiding boxy frequency build-ups.
For the best results, follow these setup rules:
- Center the Mic: Slide the microphone bracket along the metal bar so the capsule is aligned with the center of the shield arc.
- Avoid Deep Placement: Pushing the microphone too deep into the curved shield traps the sound waves, creating an unnatural, boxy tone. Keep the front of the mic flush with the outer edge of the shield.
- Address the Real Problem: Remember that a cardioid microphone is most sensitive at the front. This means the reflections coming from the wall behind your head are actually more likely to enter the mic. Hanging a heavy moving blanket behind you is often more effective than using the shield alone.
Imagine you are recording a podcast episode and notice your voice sounds muffled. If you check your setup and find the mic is pushed deep inside a cheap foam shield, pulling it back towards the room will immediately restore high-end clarity. You can browse high-density, professional shields and stands on gear sites like Sweetwater.
We recommend pairing your isolation shield with a heavy-duty, cast-iron round-base stand rather than a light tripod stand. This prevents the heavy assembly from tipping over and damaging your expensive microphone.
One common pitfall is relying on a shield as a complete soundproofing solution. In practice, a shield only dampens reflections from a small angle. If your room has parallel hard surfaces, you will still need to hang blankets or place soft furniture in the room to control the overall echo.
Frequently Asked Questions About Mic Shields
Do microphone isolation shields actually work?
Yes, they work to reduce room echo and reflections, but they do not block outside noise. They are designed to absorb sound, not isolate the room from external sounds.
What is the difference between a pop filter and an isolation shield?
A pop filter is a small mesh screen placed in front of the mic to block plosive air blasts (like ‘p’ and ‘b’ sounds). An isolation shield is a large foam panel placed behind the mic to absorb room reflections.
Can you use a reflection filter for instruments?
Yes, you can use them when recording acoustic guitars or brass instruments to prevent the sound from bouncing off nearby walls, though they are most commonly used for vocals.
How heavy is a typical microphone shield?
Most standard metal-framed shields weigh between 3 and 6 pounds. This requires a sturdy, weighted microphone stand to prevent tipping.
Are cheap foam shields worth it?
Cheap shields with thin, low-density foam are often not worth it because they do not absorb low-mid frequencies, resulting in a muddy, boxy sound. It is better to invest in a multi-layered filter with high-density acoustic material.

Written by Rosella
Rosella is a self-taught digital creator with a passion for breaking down tech, lifestyle, and everyday topics into simple, easy-to-understand content. Based in Youngstown, Ohio, she brings a curious, multi-disciplinary approach to writing, covering everything from the latest tech trends to practical life hacks and personal growth insights.
Her goal is straightforward: take complicated ideas and explain them in a way that actually makes sense, so every reader, whether a total beginner or someone more experienced, walks away having learned something useful. When she’s not writing, you’ll usually find her exploring new tools, sharpening her skills, or spending time with family.
Through this blog, Rosella aims to build a community centered on real, actionable insights rather than fluff, jargon, or filler content.